Available in Free, Pro, and Premium editions of Lychee Slicer
In the Export workspace, you can export your scene in slices, black and white images, into a file your printer will be able to print.
Usage:
The export slices is located in the Export workspace, in the top right panel.
The tool has the following functions:
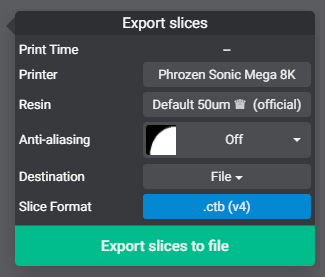
- Print time: a print time estimate.
- Printer: Name of the printer profile used to export.
- Resin: Name of the resin used to export
- Anti-aliasing: Use the drop-down menu to change the AA options
- Destination: Use the dropdown menu to select between a local hard drive or removable storage. (The removable option is currently disabled in the slicer)
- Sliced format: Select the file format used by your printer.
(you can change the version of the file format in the printer settings)
Once everything is set up, you can click on the button Export slices to select where you want to save and the file name.
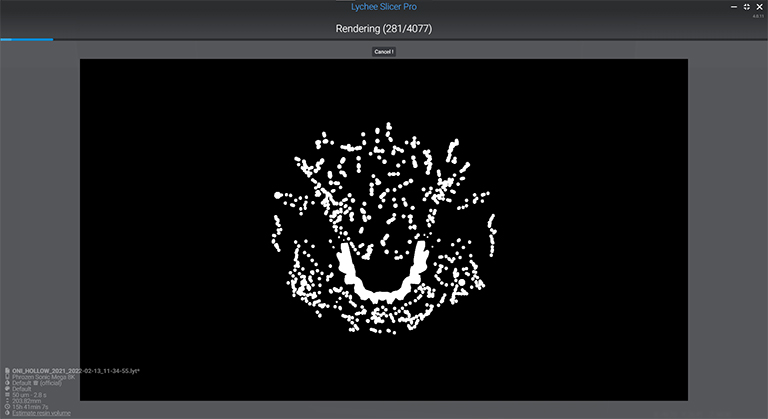
Then it starts the process.
Once completed, you will have some options and a resume:
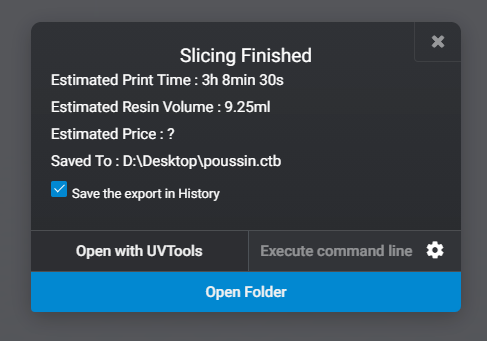
- Open with UVTools: Open the slice file in this free utility.
(You must define the installation folder first in - Execute command line: Let you use a custom command line once the slice is finished. (To edit it: File > Preferences > External tools.)
- Open folder: Open the export folder
- Gear Icon: Lets you quickly access the external tools in the preferences
Note:
- Depending on the printer selected, the file extension will change
- The content of the panel may vary depending on the printer selected
- The export process duration may vary depending on the printer resolution, scene size, and the 3d model file size
Printers with a 6K and 8K printers, in particular, may require more than the minimum requirement